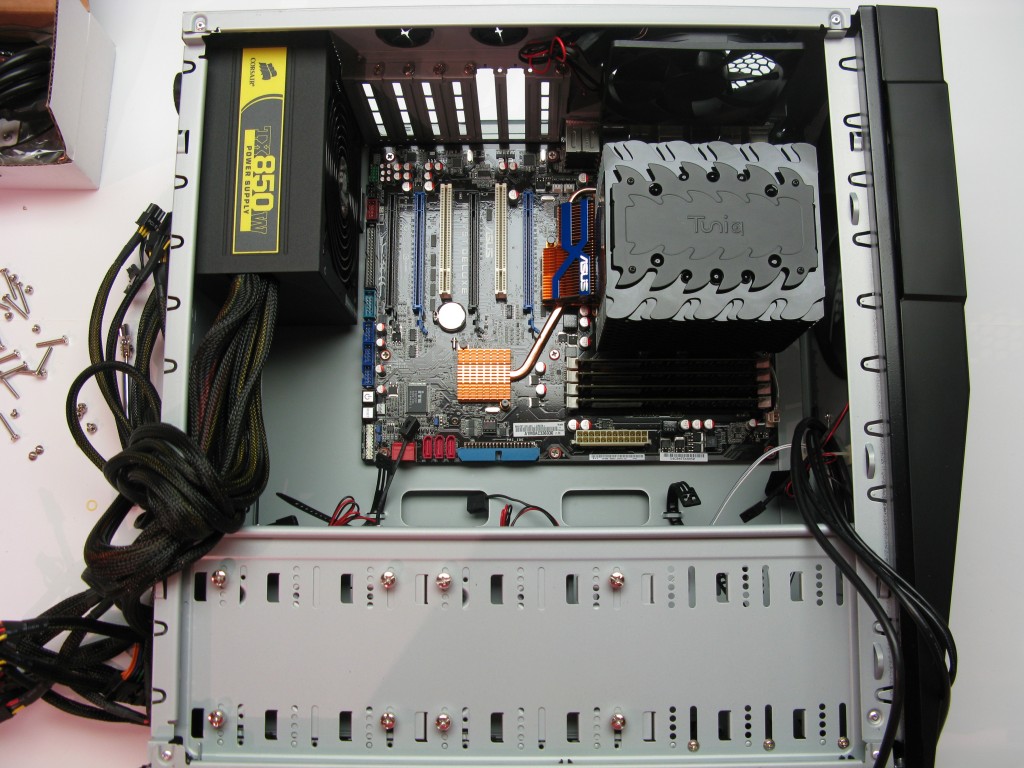
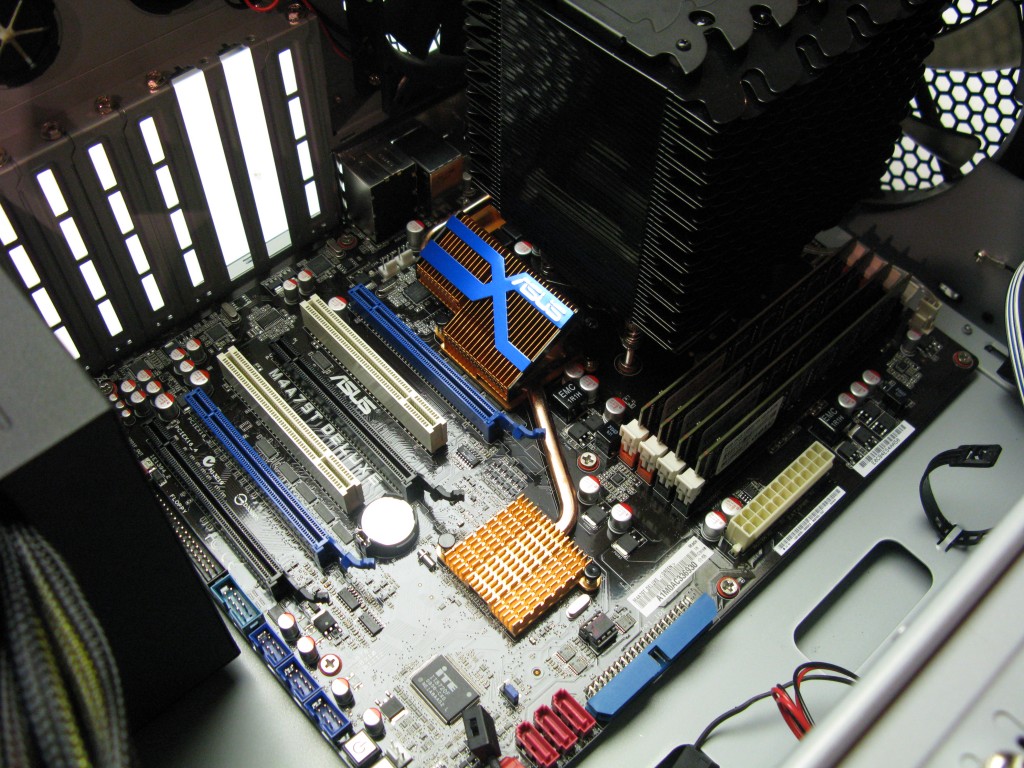
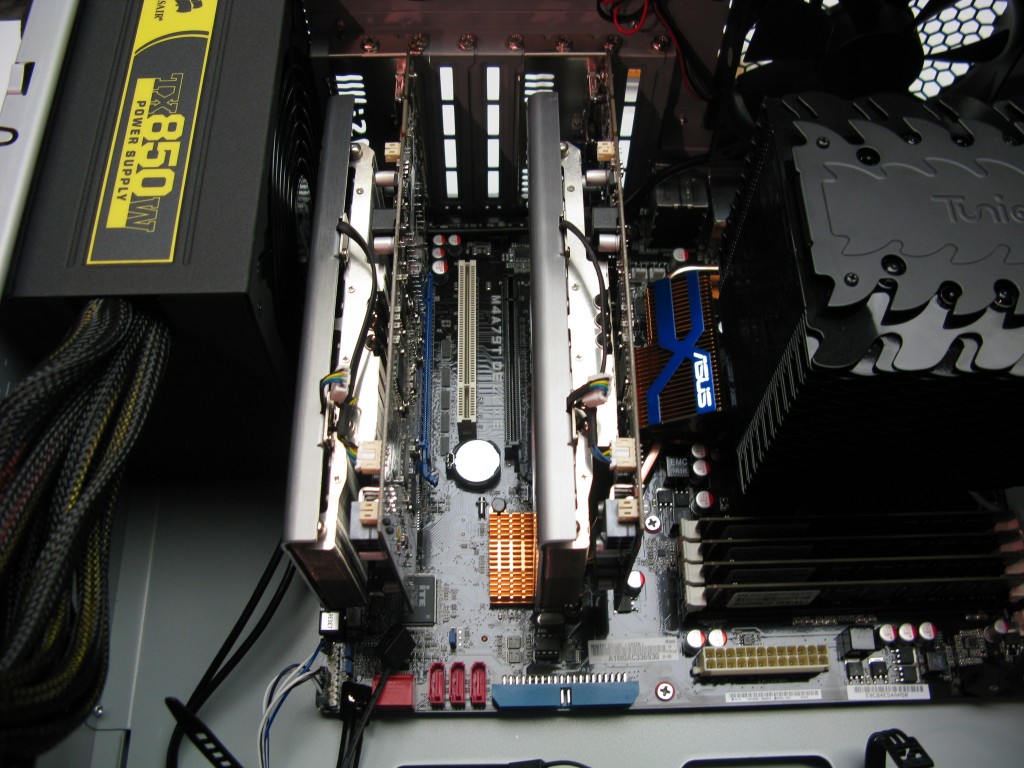
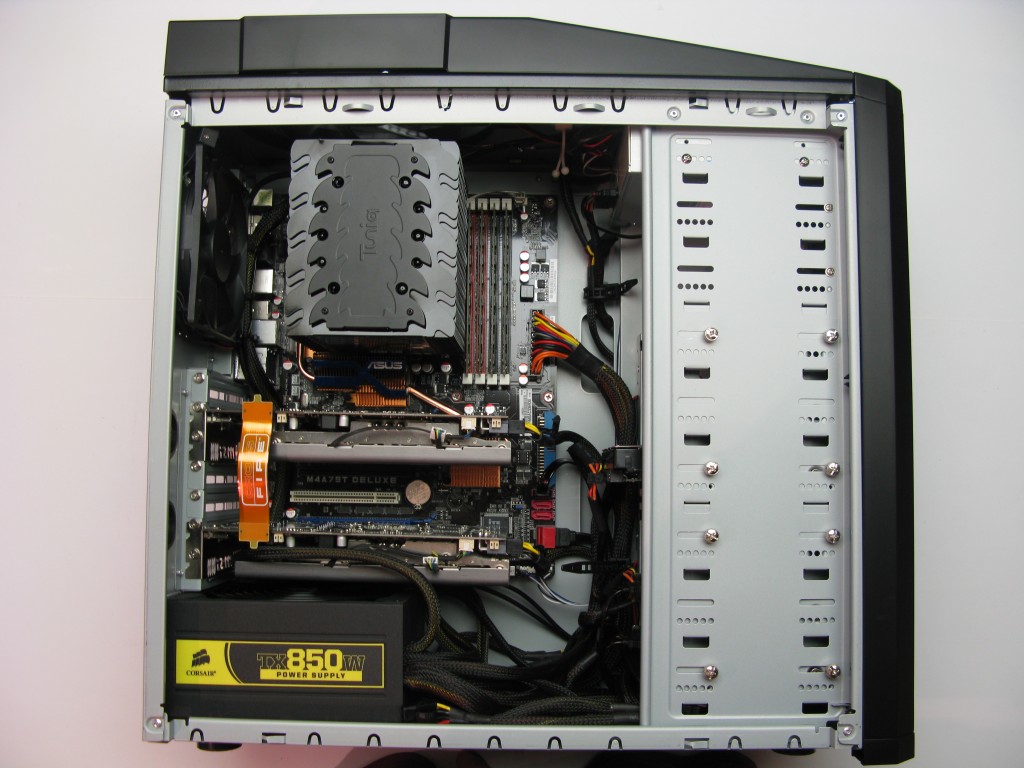
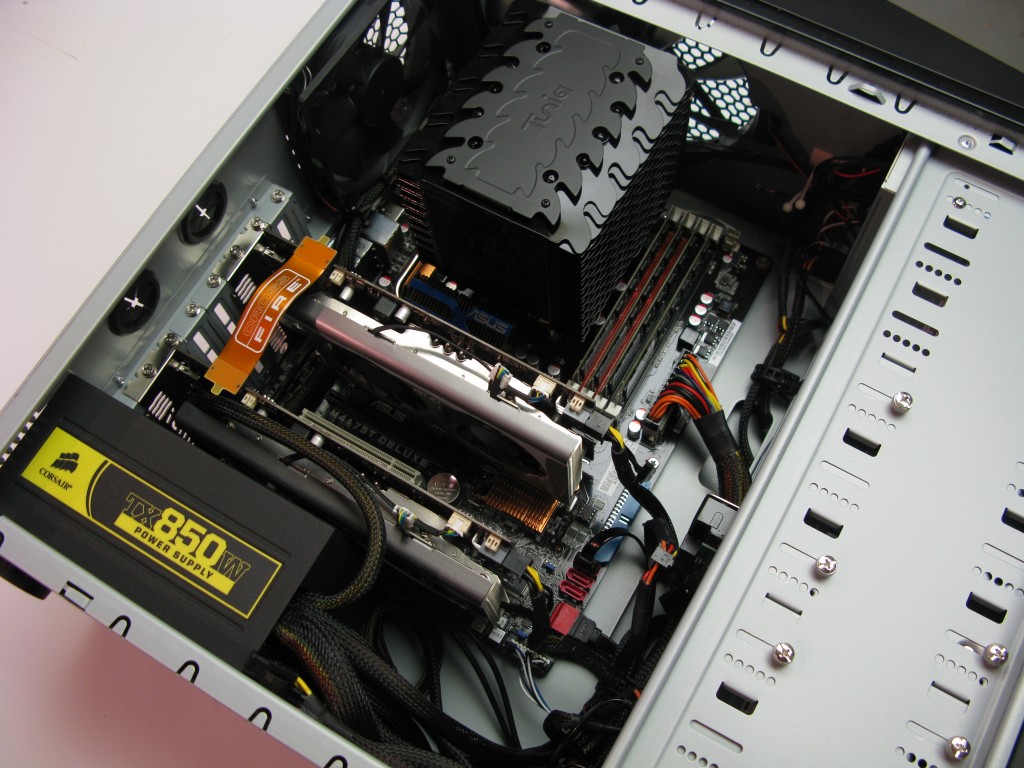
Finally- The gaming computer has been finished. It’s actually been finished for quite some time now but only recently have I had time to get around to putting something together for a write-up.
As with a lot of projects that I have going this one also fell victim to a myriad of holdups, breaks in the action and just plain lack of effort. While I tried to stay focused on the task at hand my mind wandered and I thought of other projects. Some of those projects are just glimmers of ideas, while others were in their infancy and just getting underway. After a couple of large spans with no real progress, I finally got a stretch where I had some multi-hour long blocks where I could finish everything up.
*Spoiler alert* This rig is easily the fastest and most potent gaming computer I have ever built. Beyond the gaming prowess it proved remarkably adept at performing more mundane tasks as well. Productivity and just general computer use resulted in one of the most pleasant and enjoyable experiences I could think of in recent memory. While as with many projects with the latest, or at least close to latest technology, I often got a massive hankering to upgrade my own main computer to take advantage of some of these newer advancements.
The purpose of this build was pretty straightforward. My buddy who is a pretty intense PC gamer was starting to notice a severe problem with some of the newer games he was playing. Lags, dropped frames and an inability to turn up any of the settings beyond the lowest available were severely hindering his gaming experience. His existing system was showing its age. Though it had been built as a purpose built gaming PC years ago things had changed enough where it was no longer capable of keeping up. This was when the decision was made to pursue a new computer just for gaming.
Upon some initial research we first looked at systems from some of the common aftermarket manufacturers that built custom gaming PCs. Thy offered some attractive options but the price seemed a bit high for what we thought you should be able to get for the money. At that point the decision was made to build one. So I spec’d out the parts and gave him a loose timetable so he had an idea when he could expect me to be done.
As with any computer build, the technology is constantly evolving and changing. Keeping this in mind, I made a decision not to go for the latest and greatest and instead chose to go with bang for the buck. Knowing that I needed to produce a system that was more than capable of playing whatever could be thrown at it, but at the same time not require a loan to build I chose AMD. I understand that at the upper end of gaming PCs currently Intel Core I7 rules the roost. But the cost of all the associated components required to build an Intel system didn’t seem worth it when a slightly lower performing, but still more than adequate AMD system could be built. After about a week or so of research (checking all the benchmark sites and review sites) I was able to piece together a component list I was happy with.
Components
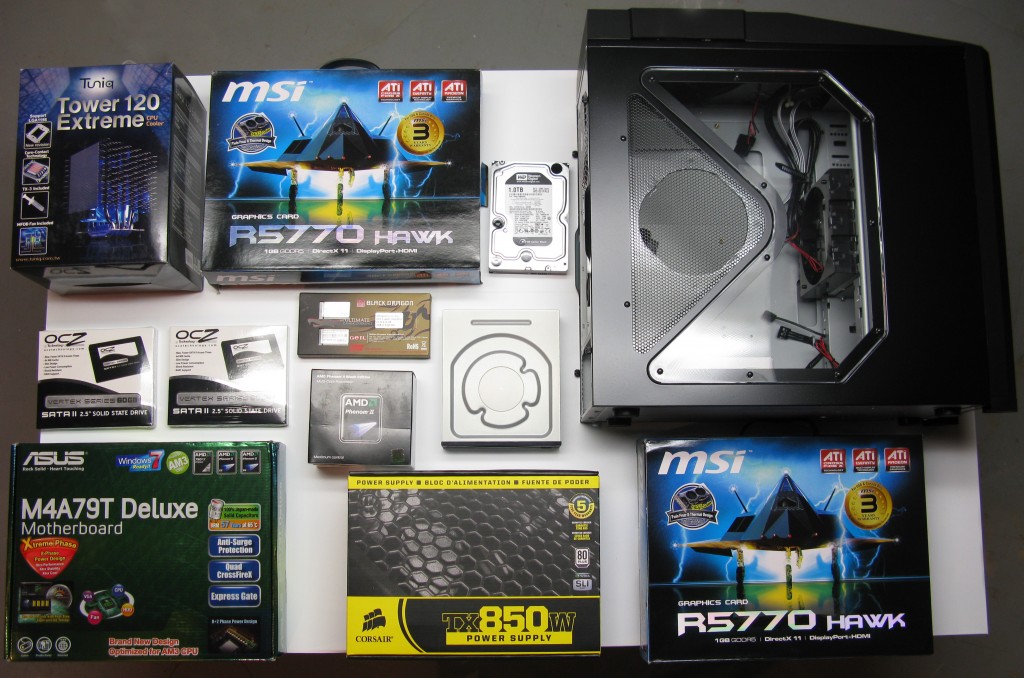
Here is a rundown of the parts that I chose for this system-
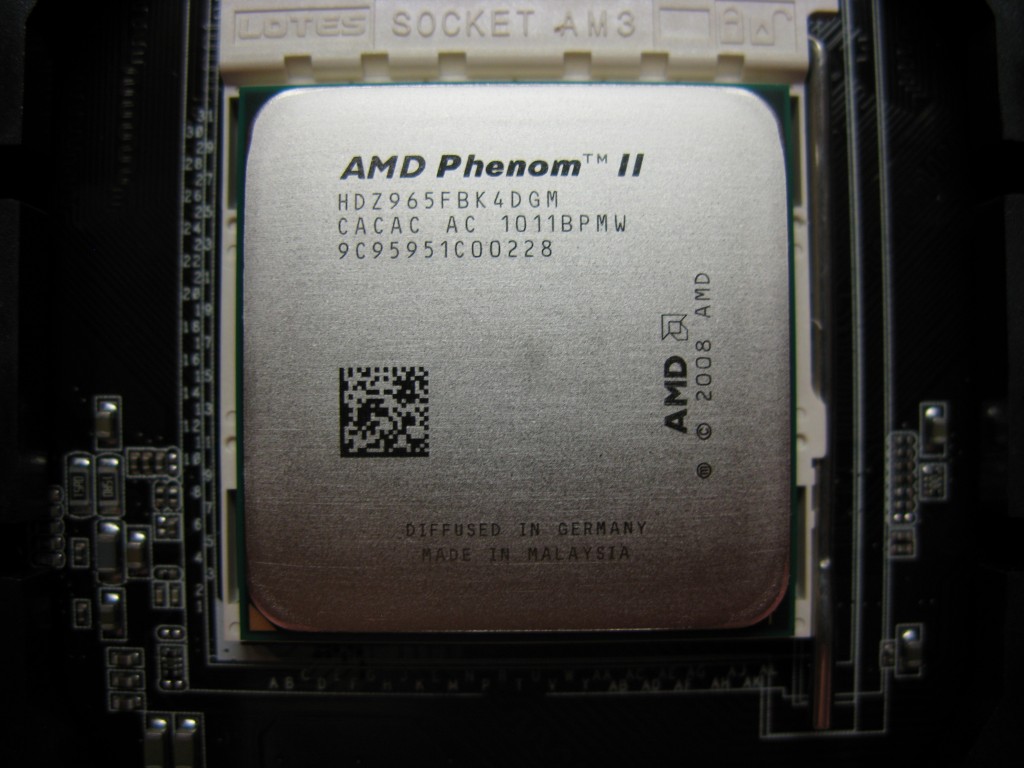
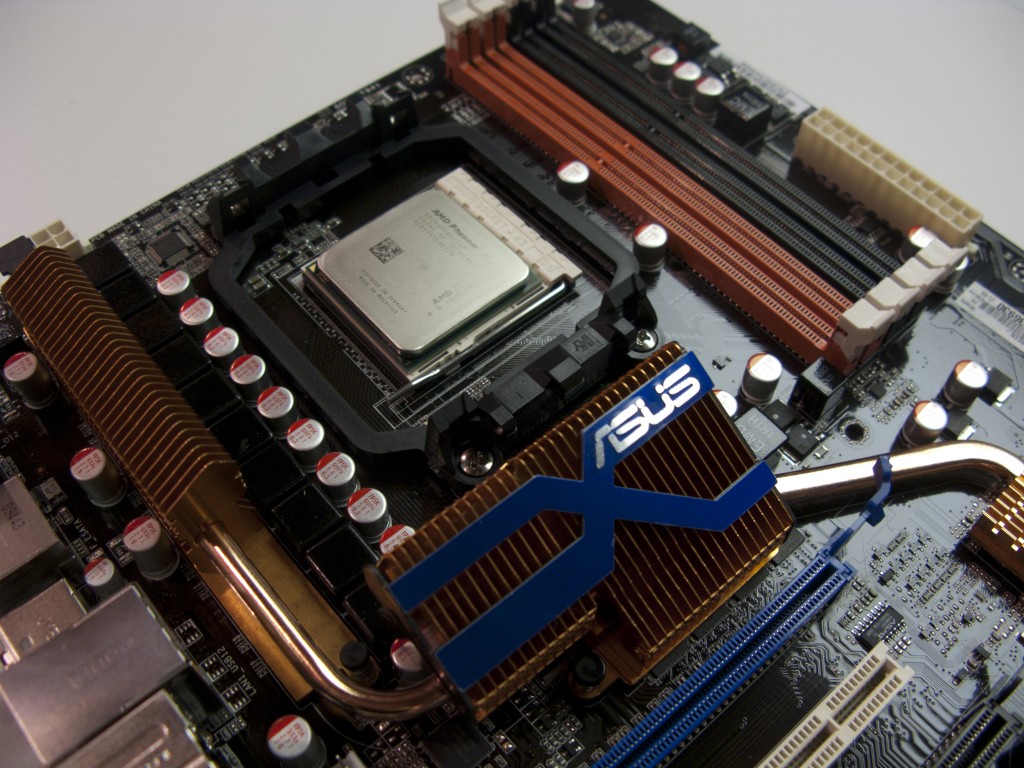
CPU– AMD Phenom 965 X4
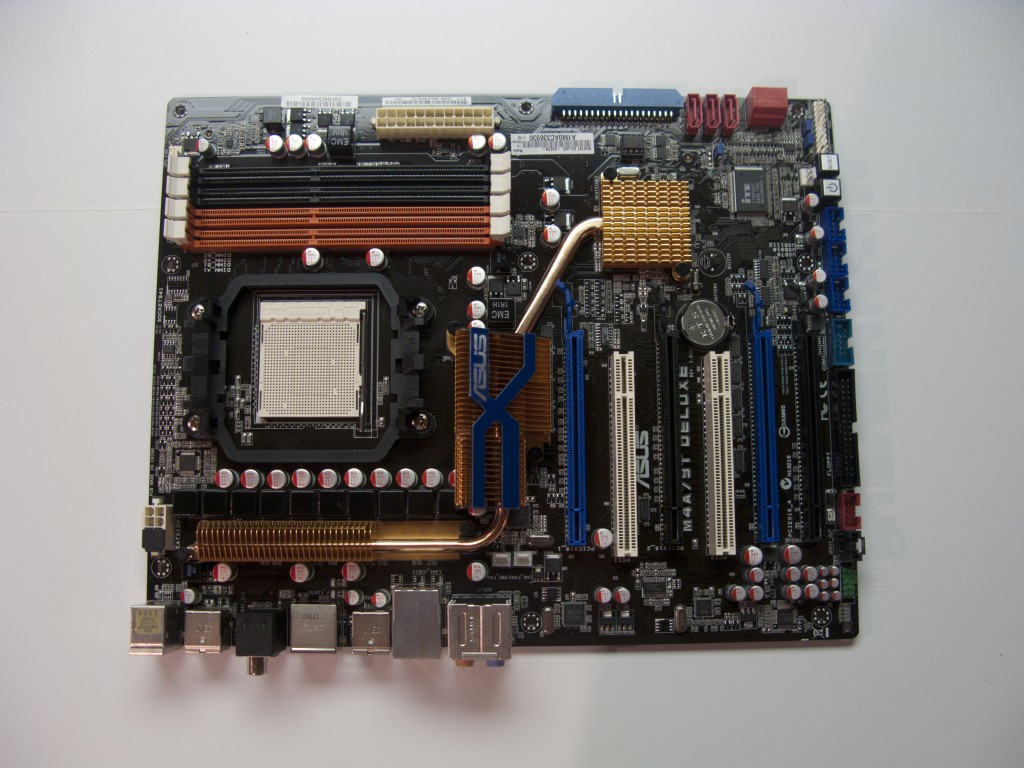
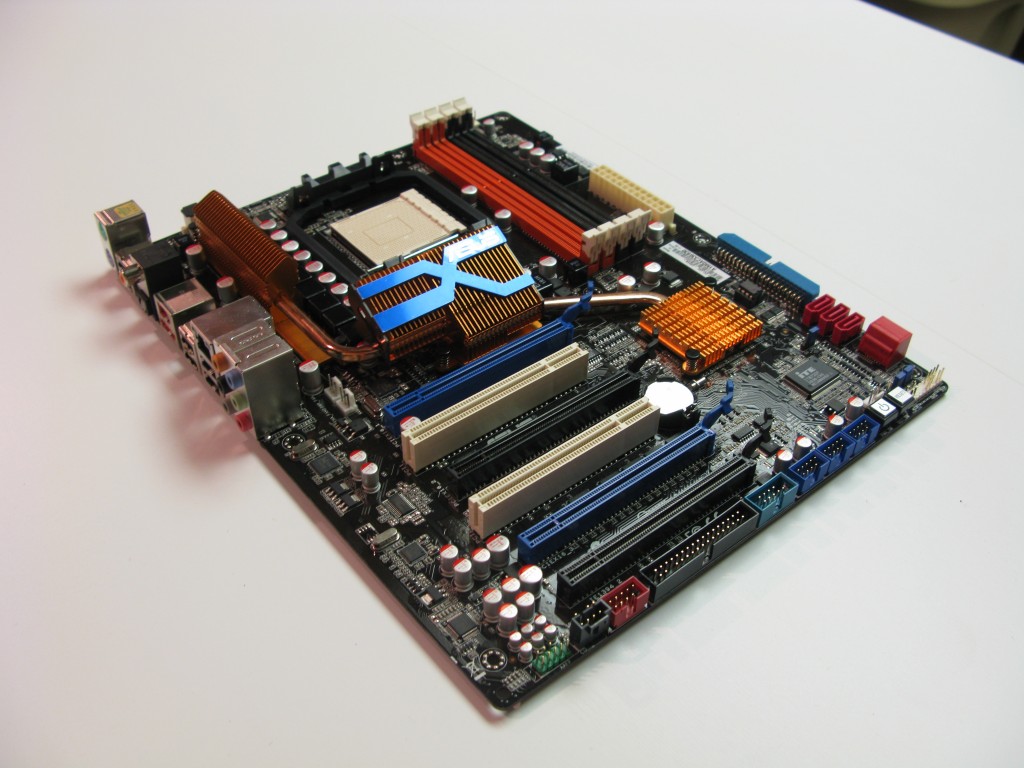
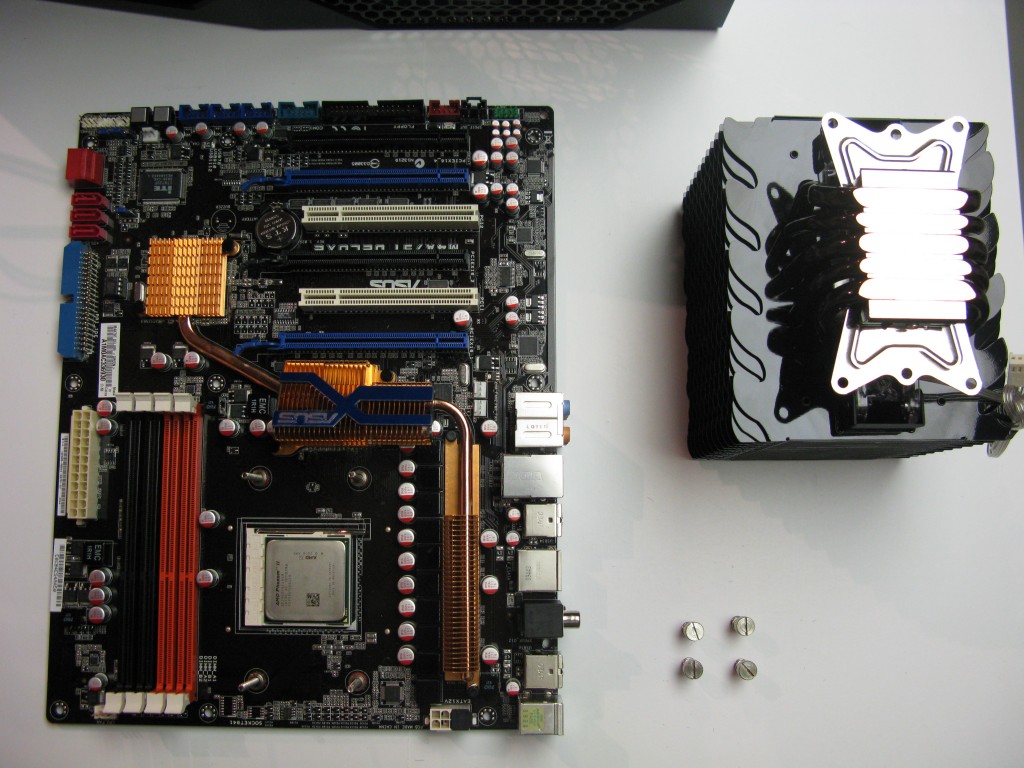
Motherboard- ASUS MA479T Deluxe
Memory- Geil Black Dragon DDR3 Quad Kit (8GB)
Power Supply- Corsair 850 Watt
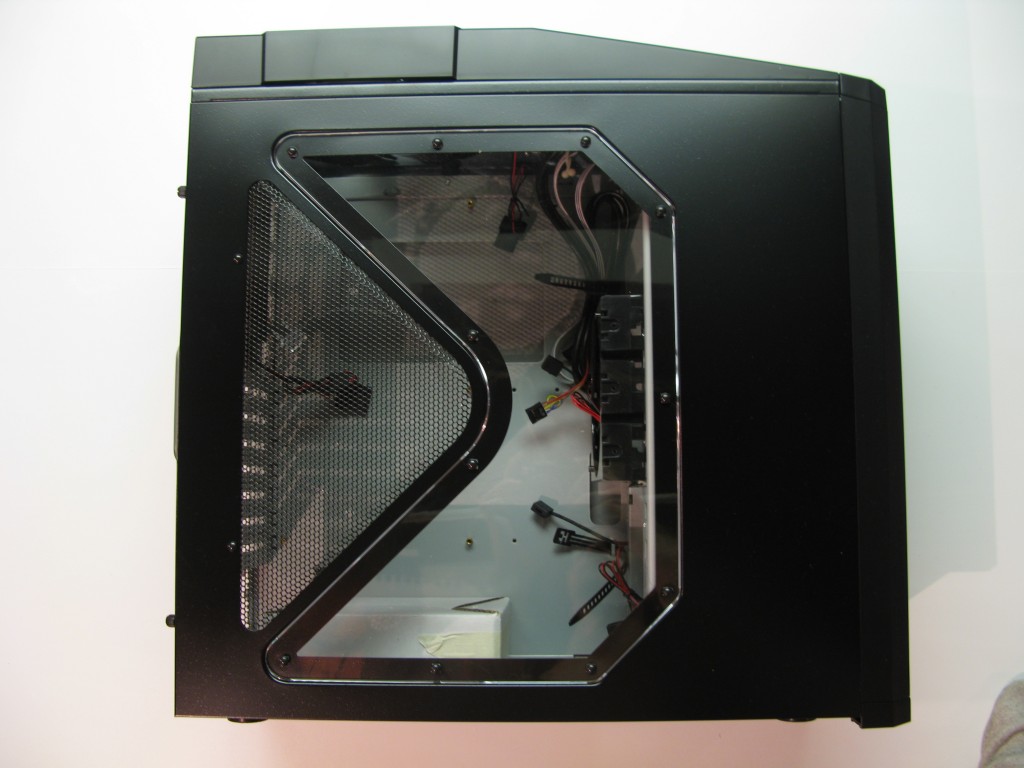
Case- Antec 900
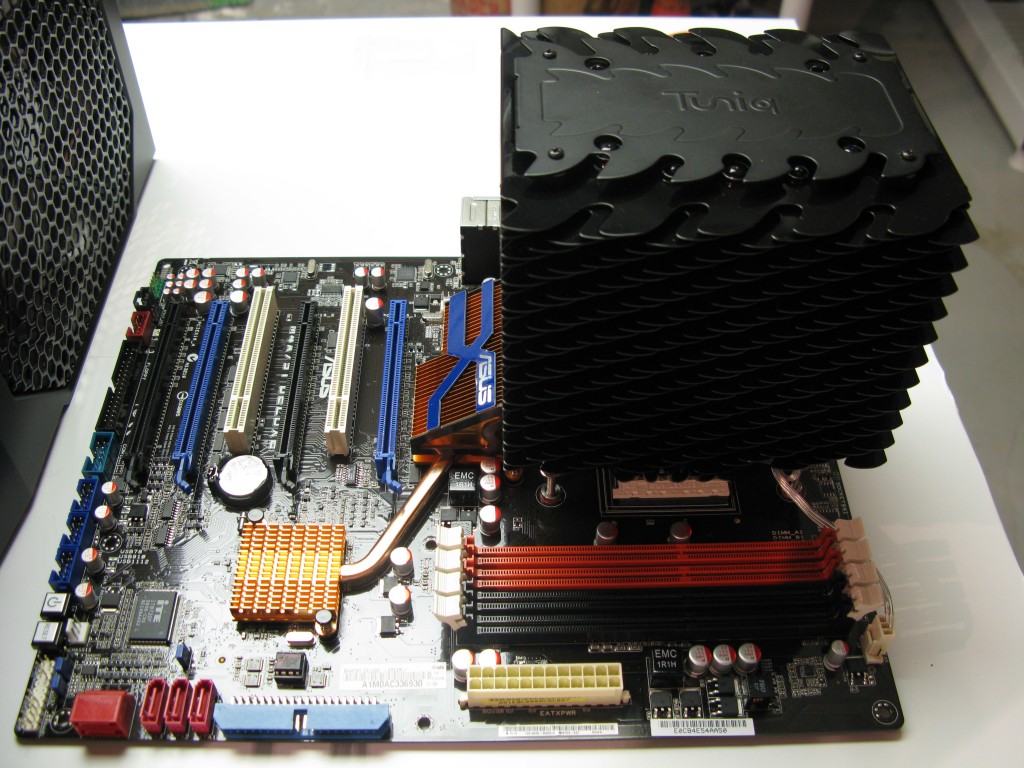
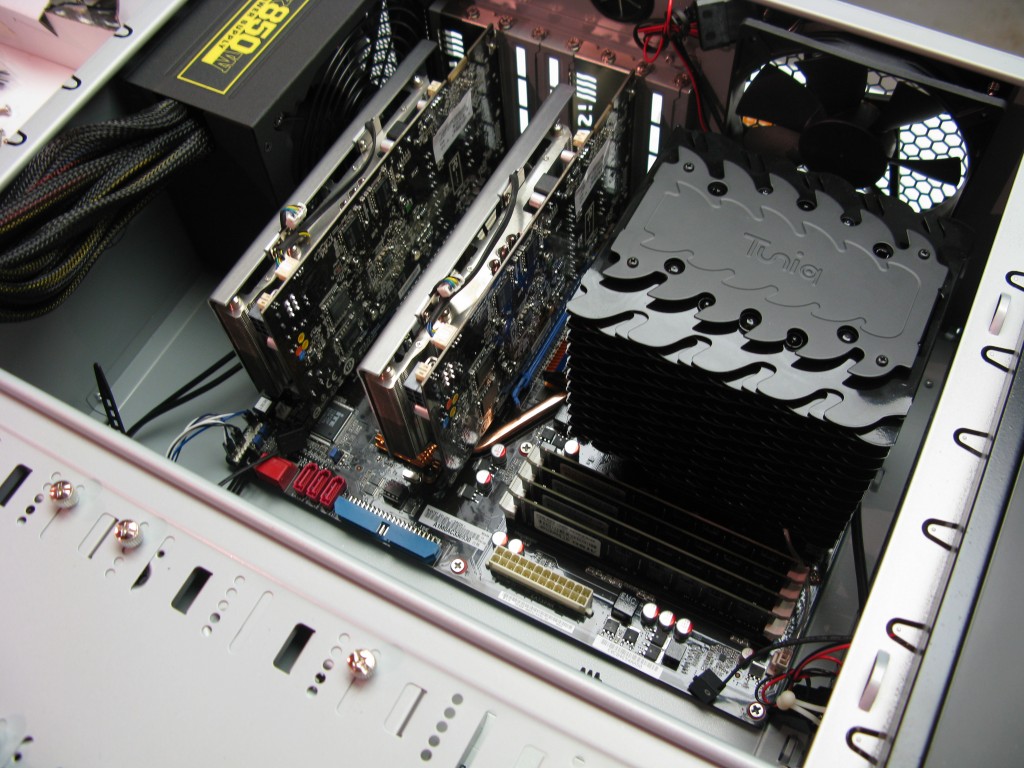
CPU Cooler- Tuniq Tower 120 Extreme
Hard Drives-
OCZ Vertex 60 GB (x2 in RAID 0)
WD Caviar Black (1 GB)
Case Fans- (x4) 120mm Scythe “Slipstream”
(x1) 200mm Antec Tri
(x2) 70mm EVERCOOL
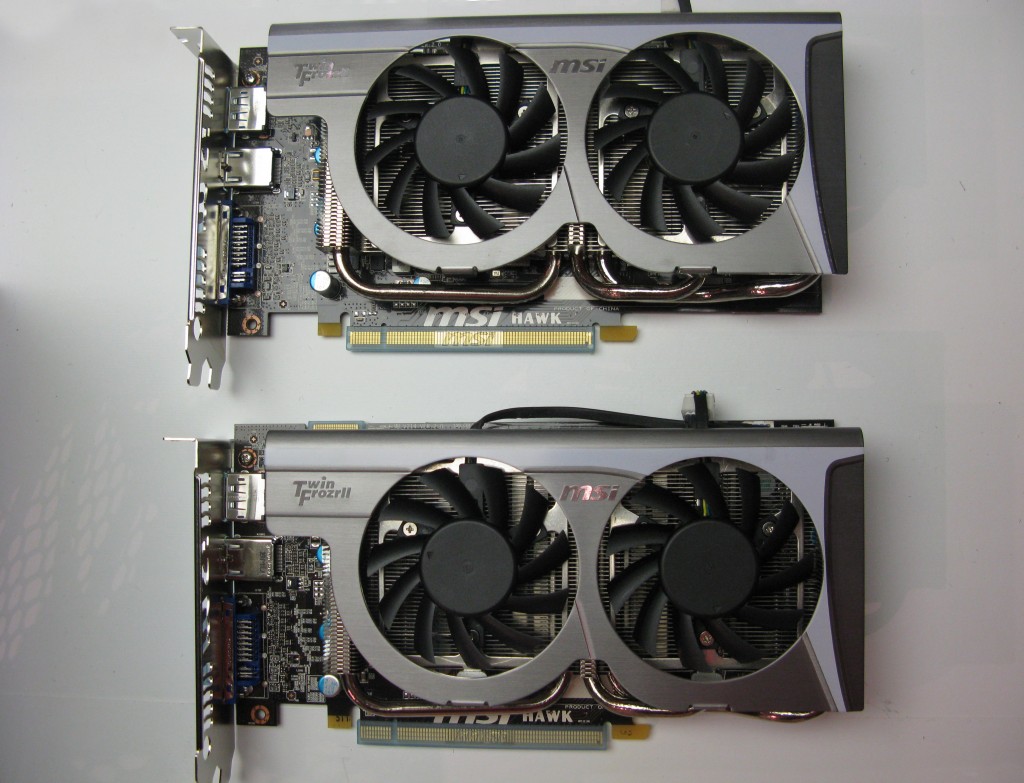
Graphics Cards- MSI R5770 Hawk Radeon HD5770
Optical Drive- ASUS DRW-24B1ST/BLK SATA 24X DVD Burner
I initially had laid out a couple of goals for this new machine
· Capable of playing any game at highest settings
· HD Read/Writes in the 400MB/250MB range
· Overclocked CPU in the 4 Ghz range on air
· Overclock RAM by 10-20%
· Overclock GPU by 10-20%
In addition to these goals I wanted this system to be reliable and capable of playing the most intense games full out for hours on end without fear of temperature or instability. If the system was not capable of this I would consider it a failure. Any rig worth it Wheaties must be rock solid. I also wanted the overall user experience with the system to be excellent. This meant a non-intrusive real time scanning anti-virus program and removing any and all crap that was unneeded.
As with most builds I do, I started by laying out all the parts and taking a brief inventory. I like to not run into interruptions and stoppages caused by missing pieces or parts. After looking over everything I found I needed to get a couple of other pieces. Those included different mounts for the SSD drives for the Antec case.
CPU Cooler Woes
I started first by laying out the motherboard and figuring out my approach for attaching the CPU cooler. My first impression of the cooler was that it was pretty solid and well built. I did question the anodized black coating over the aluminum, while I’m not a chemical engineer or thermodynamics expert it seems odd to “coat” over a part that is supposed to transfer heat. It seems as though this coating would inhibit heat transfer.
My next complaint centered on the mounting for an AM3 socket. There were new clip adapters included to allow for the cooler to face front-to-back in the case. This seems like the most common arrangement for best overall airflow. The issue I had was the chintzy way in which the whole thing was supposed to work. The adapters move the clamping to the exterior of the base of the cooler. The distance from the centerline of the cooler and the amount of leverage and angularity that are introduced with this setup seem less than ideal. As opposed to a system where the cooler has center pressure applied to it, this 4 corner clamping did not seem to apply enough pressure. On top of this, the screws with springs which are supposed to limit the amount of pressure on the clamps seemed to limit the amount of pressure that could be created.
In the end I ended up modifying the screws and clamps so that I could create more clamping pressure. This allowed for better and more even clamping as well. I must have test mounted the cooler 10 + times before I was finally happy with the amount of pressure and load on the CPU. For the purpose of my own knowledge, I did test both the suggested factory mounting suggestions versus my own mounting arrangement. The CPU temps peaked under continuous load at around 45 degrees Celsius with the factory mounting configuration. With the revised mounting configuration I saw a peak load temperature of 41 degrees Celsius. A marked improvement it seemed.
Mockup & Layout
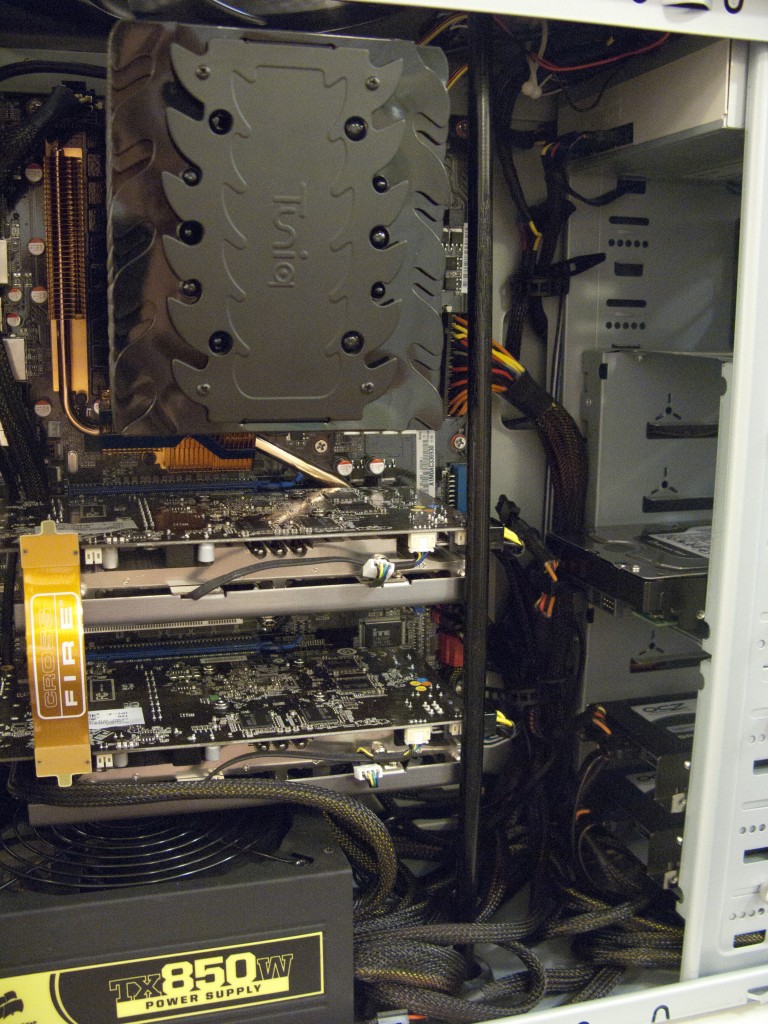
Wiring is a huge pet peeve of mine. Sloppy wiring both looks bad and obstructs case airflow. With this in mind I will usually mockup all the components once first to get an idea how I plan on wiring the system. This usually results in extending wiring harnesses so that they can better be hidden.
After the initial mockup I found numerous wiring issues that needed to be fixed. After going through and re-wiring most of the offending wires I was able to move onto fan placement. Looking at the case on the Antec 900 makes you think, “This thing is meant to move a lot of air.” The overall layout however, leaves a couple of areas that seem slightly less than ideal. I decided to initially run the system with all the stock fans and see what the results were.
Buildup
After finishing the mockup and initial modification I was able to move on to the buildup portion. Unfortunately this is not a very fluid process since I seldom get very large chunks of time to go through and actually sit down and go start to finish.
I got the motherboard installed in the case with the CPU cooler and ram already installed. This went pretty smoothly. At that point I was able to get the power supply in place and mounted, which I also accomplished with relative ease.
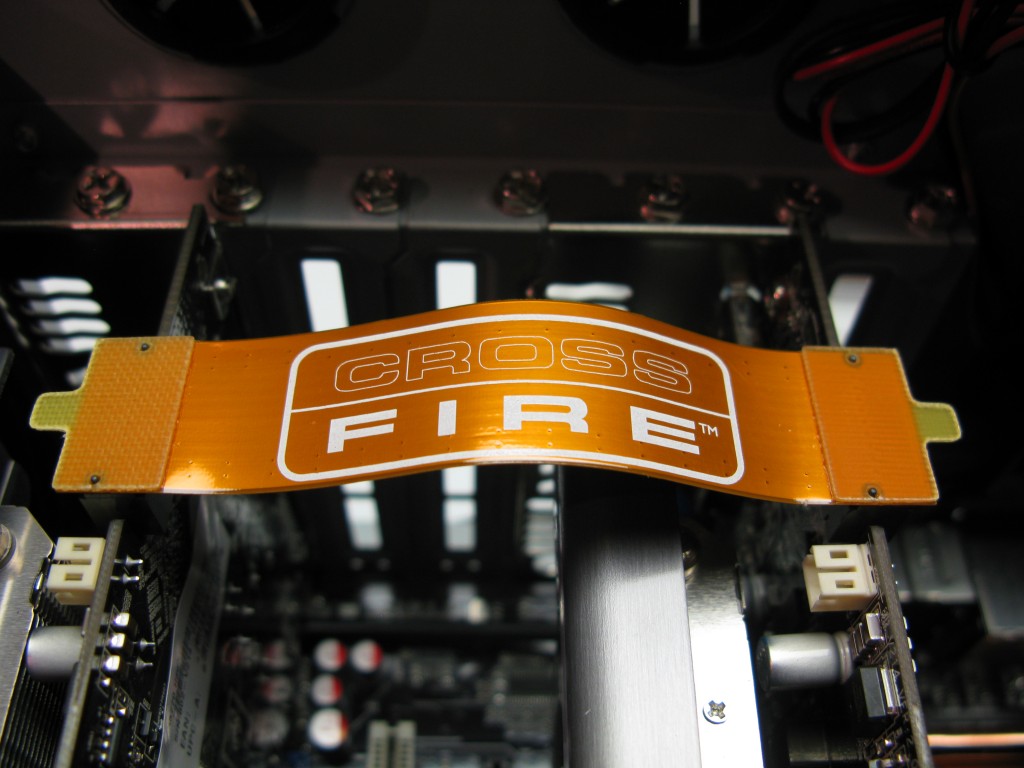
The next step was getting the video cards in place. I had some reservations about the weight of the cards initially. They were pretty heavy with the heatsinks that were in place. I found the required slots required for x16 Crossfire operation and installed them. The wiring obstructions that the video cards created required some moving of wires in order to reach some of the headers for USB, FireWire, etc.
After getting the video cards into place I stood the system upright and indeed confirmed my earlier fears that the weight of the cards were going to cause them to sag and place an uneven load on the PCI-E sockets. This would never work. I decided I would come back to this issue and come up with some fix at a later point.
I next moved onto the SSD and HDD mounting. The Antec system of a HDD cage is somewhat a pain in the ass, since it requires removing a series of pieces in order to get to the cages and remove them. I will say I’m glad they changed the system of attaching the drives to the cage though; the old system with a through hole was a major pain and resulted in dropping screws in the cage.
Once I had attached all the drives into the cage and was happy, I reconnected everything and proceeded to install the optical drive without issue. By this point I just had to go through and attach all the wiring. I went and made all my attachments with temporary zip ties to get the overall setup done. I looked over all the connections and mounting and once I was happy decided I was ready to move onto software installation.
OS & Software Setup
Given the nature and purpose of the system I decided to go with Windows 7 Ultimate x64. The install went well. A common stumbling block is creating the RAID setup in the Bios, but this step was no trouble. After that I went through and downloaded the appropriate RAID drivers for the AMD SB750 and put them on a flash drive. During the initial installation I navigated to the flash drive and installed the drives so that my RAID array showed up. At that point everything was pretty straightforward.
Upon first booting into Windows for the first time I immediately noticed the pep and responsiveness. While my own personal system is only a year or so old it seemed slow in comparison. I proceeded to configure the appropriate drivers and updates for the system.
Overclocking
Upon booting into the BIOS I was faced with the familiar ASUS BIOS that I had dealt with before. I made all the basic changes I knew that I would need and booted back into Windows. I went through and did some baseline testing of the CPU and memory for temps. Once I had a baseline for everything I could start tinkering.
The CPU portion is fairly intertwined with the memory overclocking on a Phenom. I first raised some of the voltages in small increments and picked a couple of settings I thought would be fairly close from experience. I booted back into windows to test.
Here is a breakdown of my subsequent sequence of overclocking-
1. CPU – 3.8 ghz
RAM- 1333 mhz
2. CPU- 3.9 ghz
RAM- 1400 mhz
3. CPU- 4.0 ghz
RAM- 1500 mhz
After playing around and making changes, followed by benchmarking, I decided that I was relatively happy at 4.0 ghz. I was not too happy with the temps, but I knew I had more work to do with the case airflow before I could finalize anything.
I went through and made some tweaks with the SSD drives and video cards until I was happy with the performance I was seeing.
Cooling Modifications
My main concerns with the build were cooling related. I knew I wanted to make changes and decided to start with the fans. I chose to replace all of the 120mm Antec 3 speed fans with Scythe fans. I also decided that I would add two 70mm fans in the empty space under the optical drive to try and increase airflow to the CPU.
Initially, under full load, I was seeing CPU temps of 50 Celsius. I hadn’t thought that would ever be a problem, but I still preferred the temps to be lower. I went through and made all the changes with the fans.
Upon rebooting and starting up the system I noted that my idle temp had dropped 6 degrees Celsius. This seemed like a good start. At that point I fired up 4 threads of a Prime 95 torture test and let it rip. My temps looked to stabilize right around 45 degrees Celsius after about 6 hours of running.
On the whole I was very happy with this result. For the offset of slightly increased fan noise I was able to lower temps to what I considered as a more than safe margin.
Final Settings
CPU–
Voltage- 1.4500
Speed- 4.0 ghz
RAM-
Voltage- 1.70
Speed- 1500 mhz
SSD (Raid 0)
ATTO Benchmark
400+ MB Reads/265+ MB Writes
Video Card (Crossfire x 2)
GPU- 1000 mhz
RAM- 1400 mhz
After getting the system to a level where I was satisfied I decided to bust out some Crysis action and let it rip. I immediately switched all the settings to very high with all the detail on. With FRAPS running in the background I noted frame rates in the 45-50 FPS range. This seemed more than acceptable and everything played smoothly without issue. I was very pleased with this. I tried a couple of other games and noted similar positive results.
My overall Windows Experience Score was 7.6 with my CPU being the lowest score and everything else higher. I noticed that I was able to seamlessly play games, multitask and not notice any lags at all.
Graphics Card Modding
After I got past all of the setup, configuration and benchmarking I returned back to my issue with the graphics cards sagging from their weight. I found a couple of products online that looked like they might offer a fix. In the end I came up with something a little simpler. This consisted of a .500 diameter wood dowel rod from Home Depot. I cut the rod to length so that it was able to be installed in a compressed nature between the floor of the case and the roof. I used two large rubber feet for each end to keep it stable.
I mocked it up and cut two small slots the thickness of the PCB of each card. Then I pushed the rod up into place at the back corner of each card, setting each card edge up onto the slot cut into the rod. This worked perfectly! The cards were both supported by a rigid rod that kept the weight from lying on the slots. The rod was round and had a very small profile so it allowed for unobstructed airflow as well.
I took the rod and painted it semi-gloss black. I allowed it to dry and mounted it back in position. It looked great! It looked like it was supposed to be there and unless you took it out and held it in your hand you would have thought it was plastic and came with the Antec case.
Conclusion
I had set out to build a sub $2,000 dollar computer that was capable of handling any and all games that could be thrown its way. In the end I was more than satisfied that I had accomplished this task. The finished system looked great, was reliable, played games at the highest settings with ease and was built for far cheaper than a comparable system built by a gaming PC builder.
My buddy was blown away. He said that with all the detail and settings on high that the gameplay experience was much more immersive then it had ever been before. He loved playing both his old games as well as some new ones that his old system was not powerful enough to play. On top of that he said he loved how snappy and responsive the system was, he told me that the thing boots into Windows and shuts down almost instantly, opens applications before he even feels like he clicked them and pretty much is unable to slow down no matter how much stuff he has open at once. To me that sounds like this system was a success.
