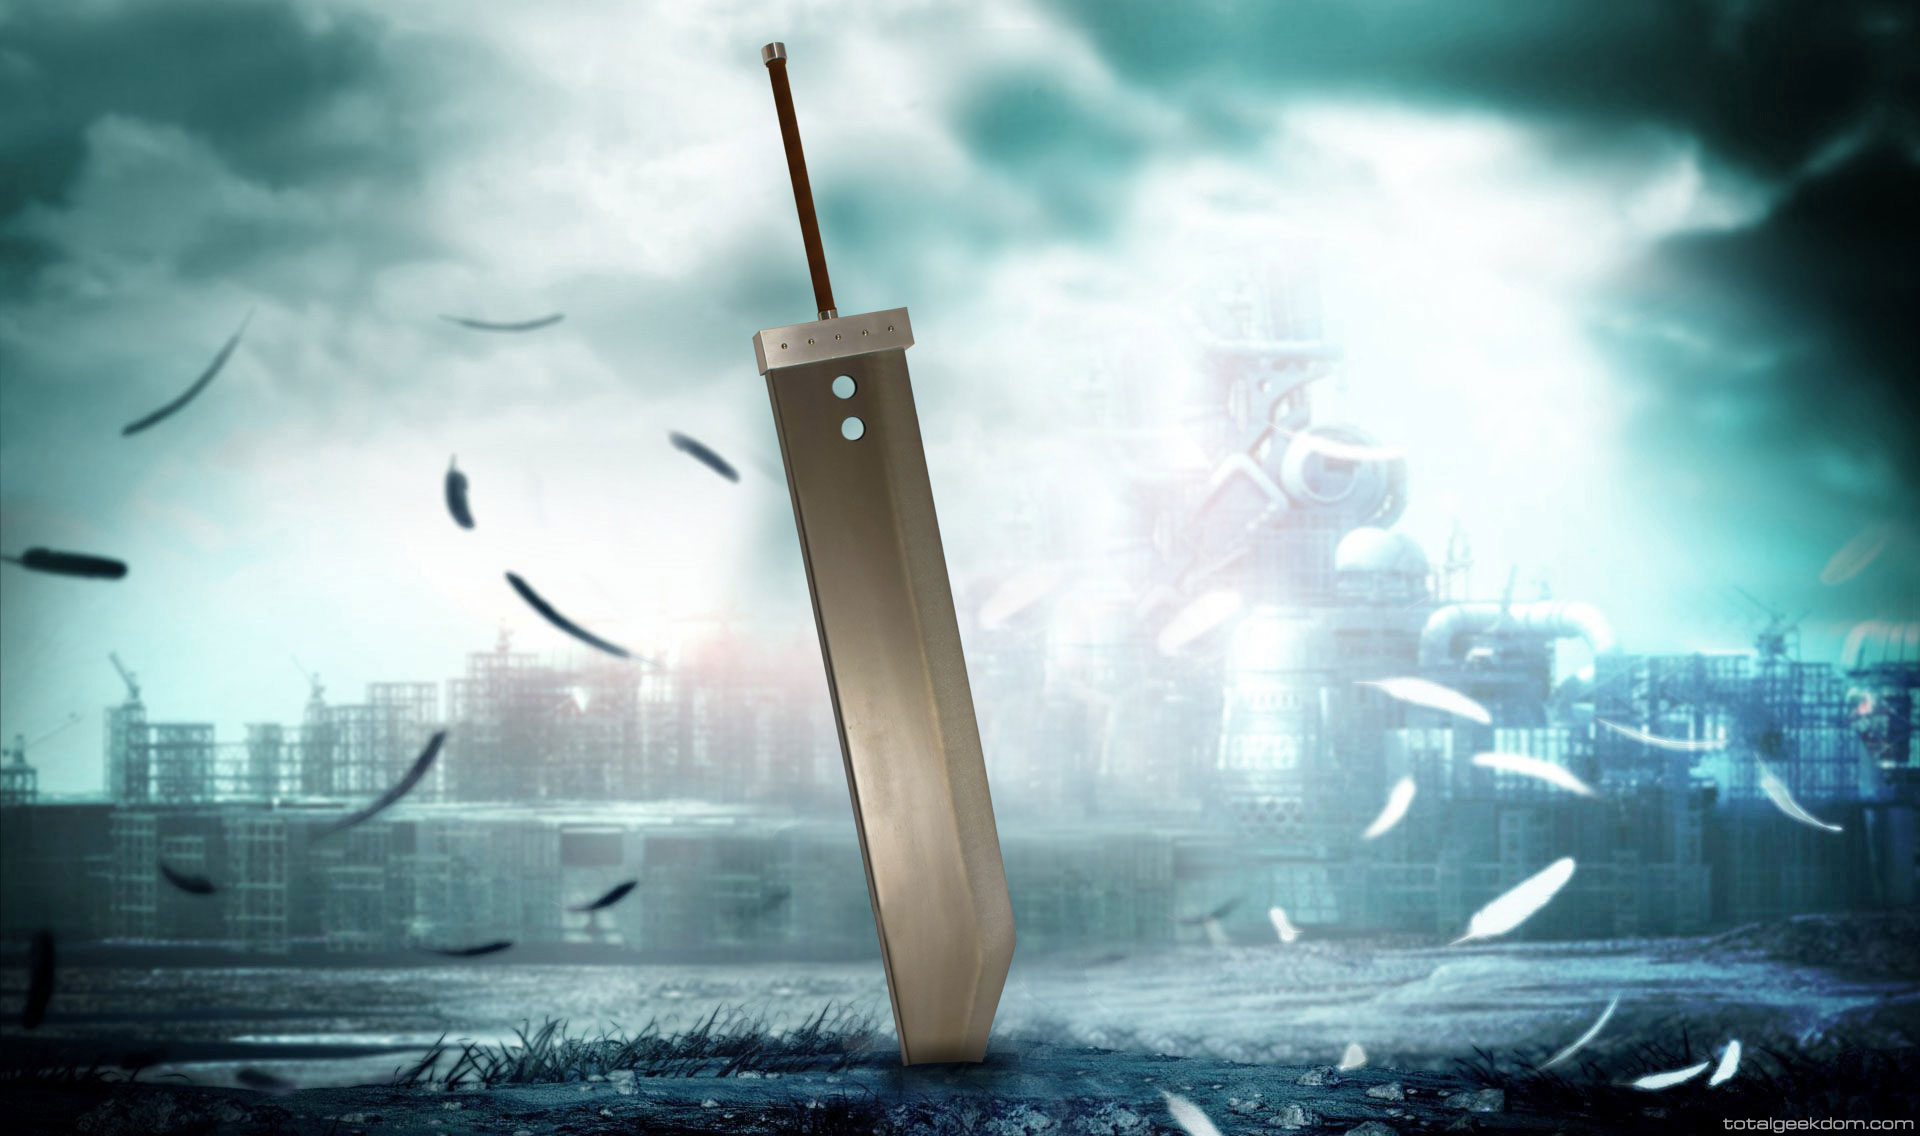
This past Halloween I decided that I wanted to go a little more all out on my costume than I had in years past. After a little time spent brainstorming I decided that I wanted to try and find a character that let me use my already messy fauhhawk spikey hair and incorporate it into a costume. With spiky hair as a requirement I quickly turned towards anime and video game characters, from there I further narrowed the list to Final Fantasy and settled in on Cloud Strife. I had played FF in the past and thought it would be perfect. Only one problem, my hair is black and Cloud’s is blonde. Then I quickly remembered that Zack also had awesomely spiky hair. That helped finalize my decision in choosing Zack Fair.
The real fun of getting to do this costume was getting to attempt to build a Buster Sword. I did a bit of research and looked around places on the web to see what I could find. I ran across some sites selling replicas for a couple of hundred dollars, but they were not full size. What’s the fun of having a Buster Sword unless it’s the full-size version? I figured out the scale of the sword and decided if I wanted a relatively accurate Buster Sword I was going to have to build it myself from scratch.
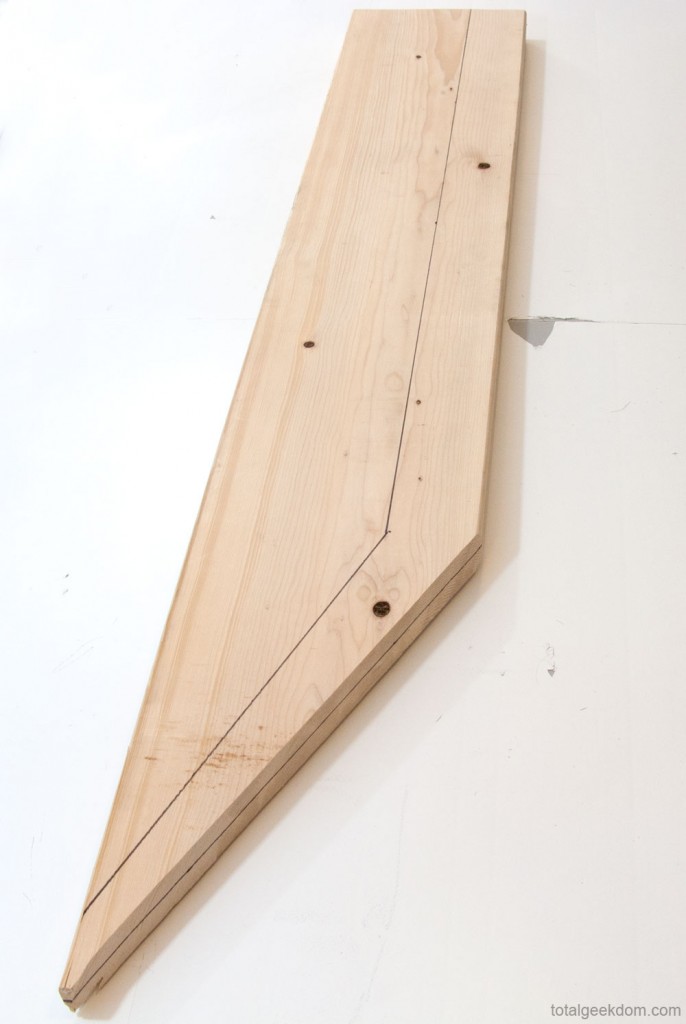
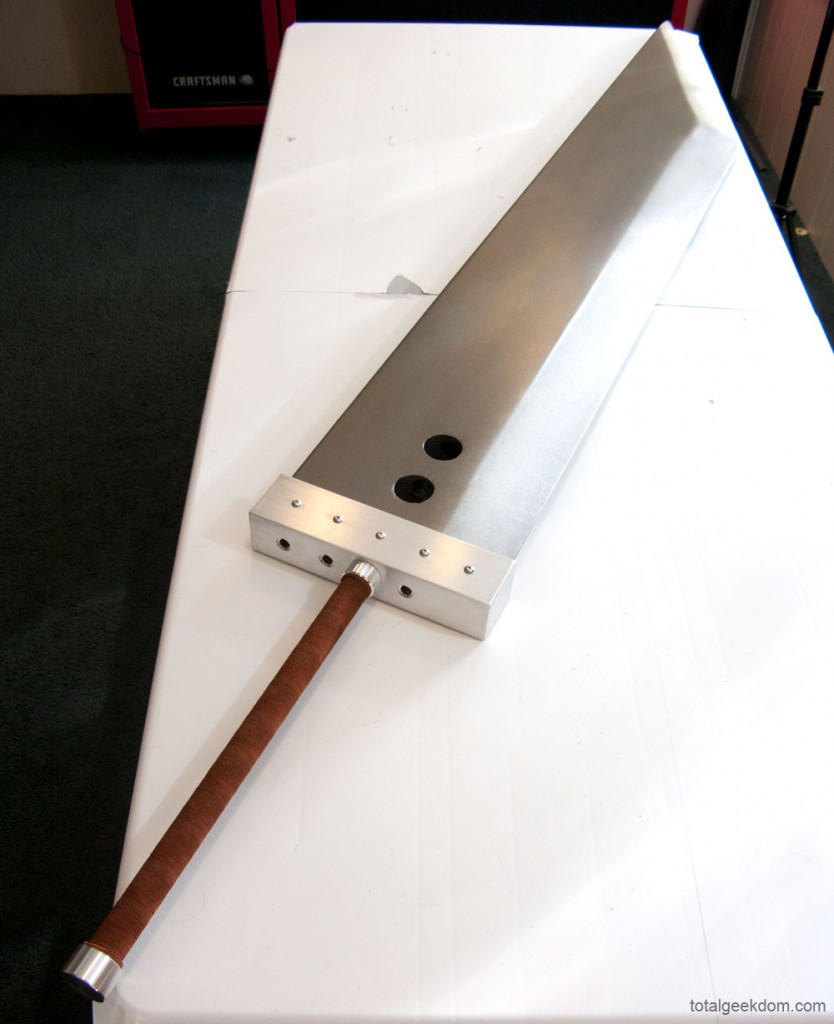
I originally set out with the intention of building two swords, the first would be a prototype and the second a more polished version. But due to time constraints I ended up just putting all the finishing touches on the prototype and rolling with it. The sheer size of a full scale Buster Sword meant that I needed to find a way to build it and keep the weight down so that I could actually wield it. I first thought of using foam board and an overlay and then moved towards a hollow wooden structure. In the end though I settled in on just buying a 2×10 8 foot piece of lumber and whittling it down.
After some initial testing for weight I determined that the single piece of lumber approach would yield a sword of the appropriate weight to wield. I busted out the reciprocating saw and cut out the basic shape of the sword blade.
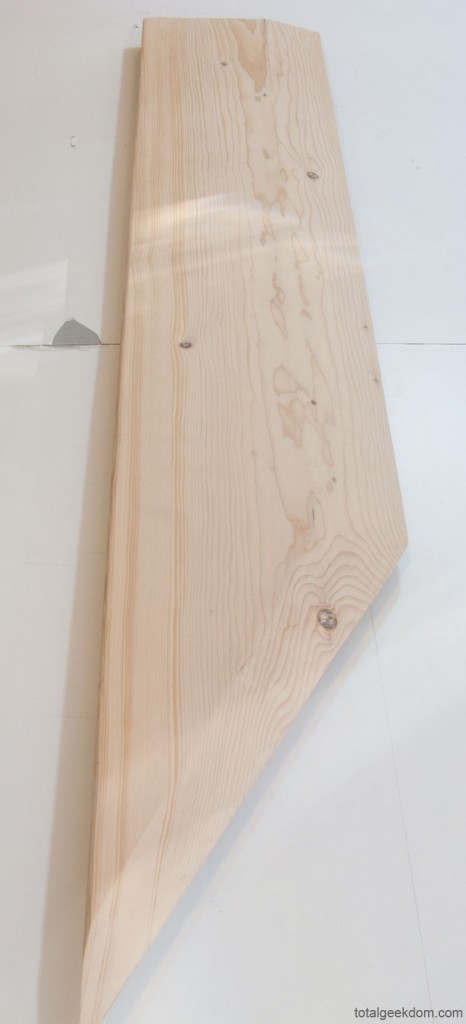
I then moved to the edge of the blade and cut both sides at the appropriate angle and width to create a blade edge that matched that of a full scale Buster Sword.
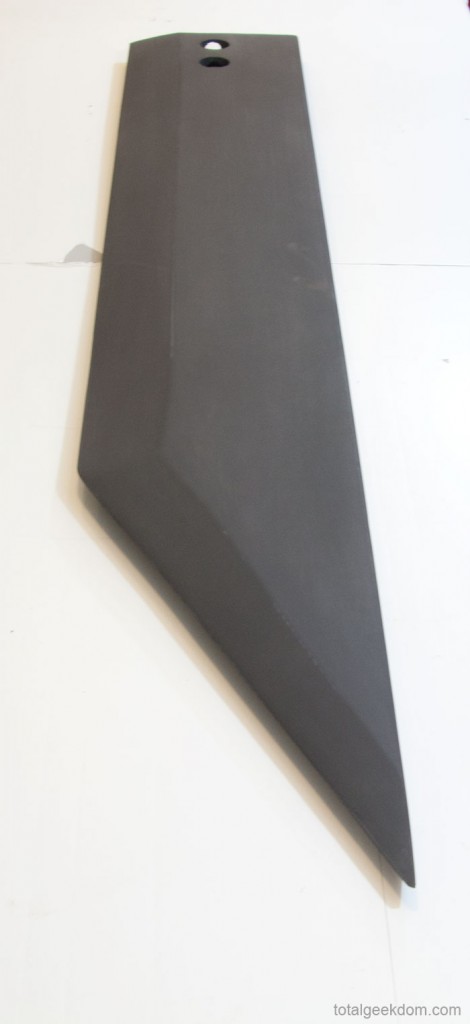
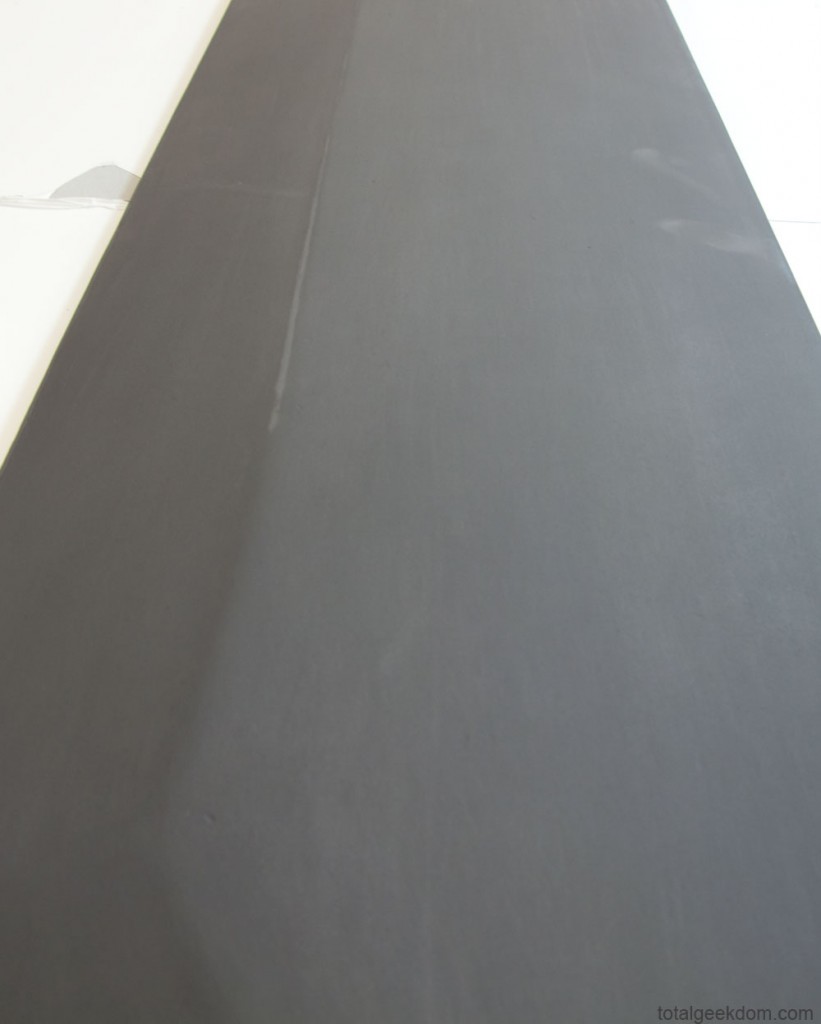
Once I had the basic shape and woodwork done I moved to the most labor intensive task of the sword build which was the finishing of the wood. The more difficult aspect of using wood is that it’s hard to paint it and not have the grain structure show. After getting the wood itself to a decent smoothness I used some epoxy filler to fill in the knots and rough areas of the wood surface. I followed up by sanding the surfaces before I applied a base coat of varnish to seal the wood. After applying the varnish I resumed sanding and smoothing the surface. Once this was done the next step was applying a coat of primer to the surface and then resuming sanding. This priming-sanding-priming technique was done numerous times until I was final satisfied with the smoothness of the finish.
After achieving a fully prepped surface ready for paint I experimented with a couple of different paint colors to try and achieve the right look for the sword blade. After a couple of coats of paints followed by some wet sanding I was able to achieve a finish that in most cases looked almost metal like. Enough to fool most at least.
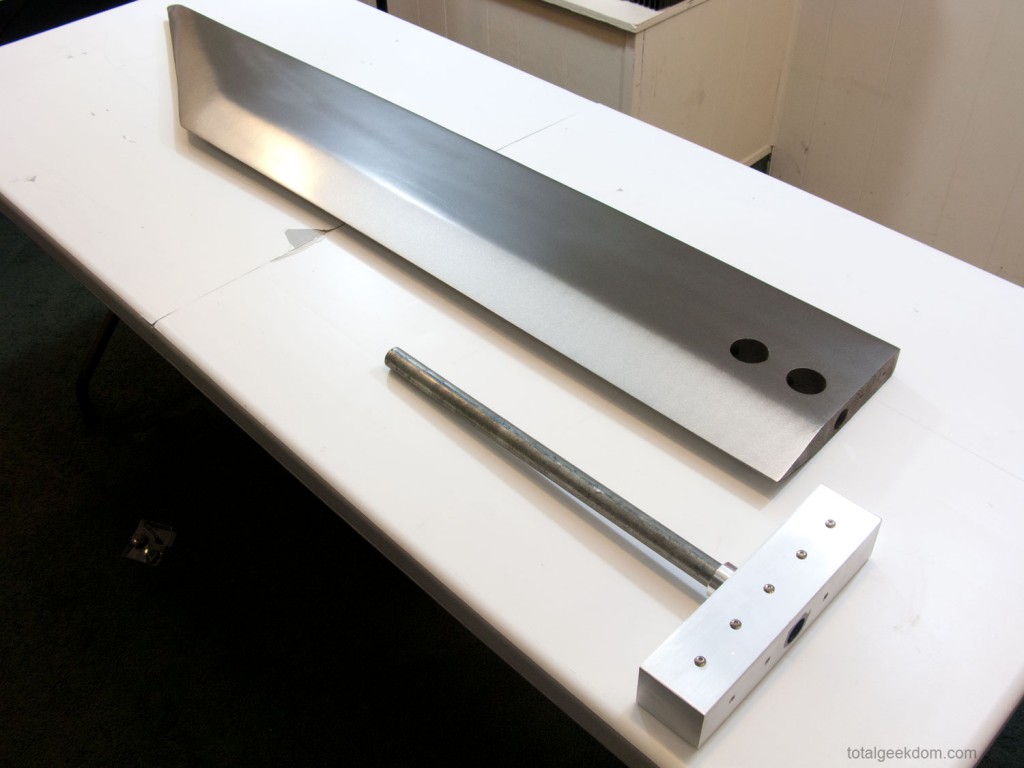
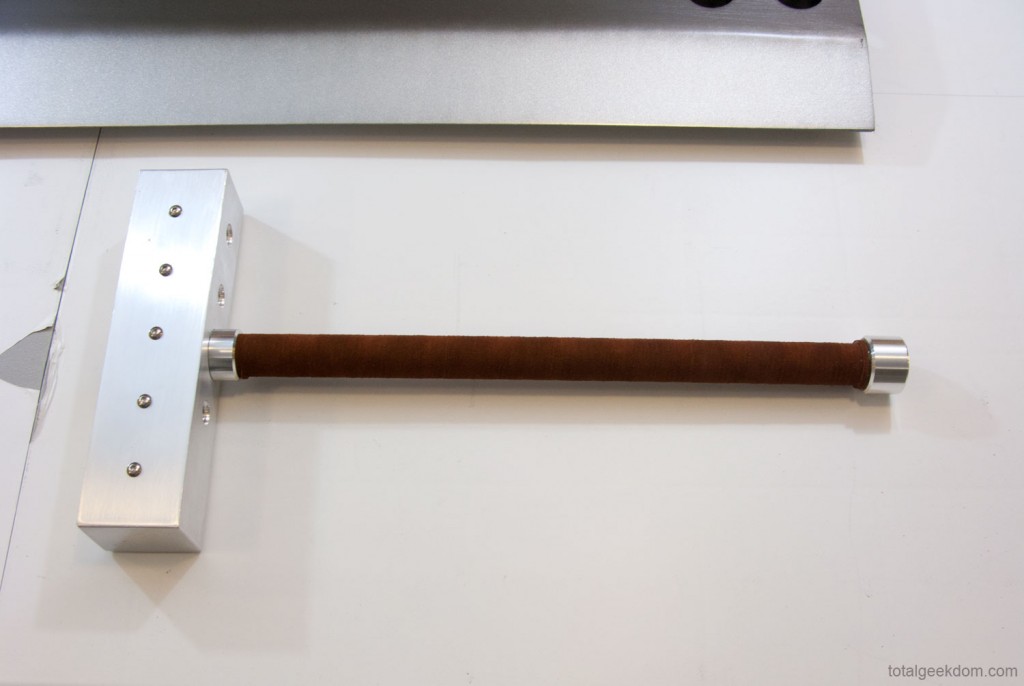
The next step following the sword blade was moving onto the handle and hilt of the sword. In testing out the weight of the sword and the balance I determined that I needed to have more weight near the handle to balance the sword out better. For this reason I ended up using a block of aluminum instead of a lighter piece of wood. I purchased a scrap cutoff of aluminum from a metal shop for cheap ($5) and then using a drill press drilled and tapped the holes needed for the handle itself, the attachment points to the blade and the 5 decorative screws in the face of the hilt.
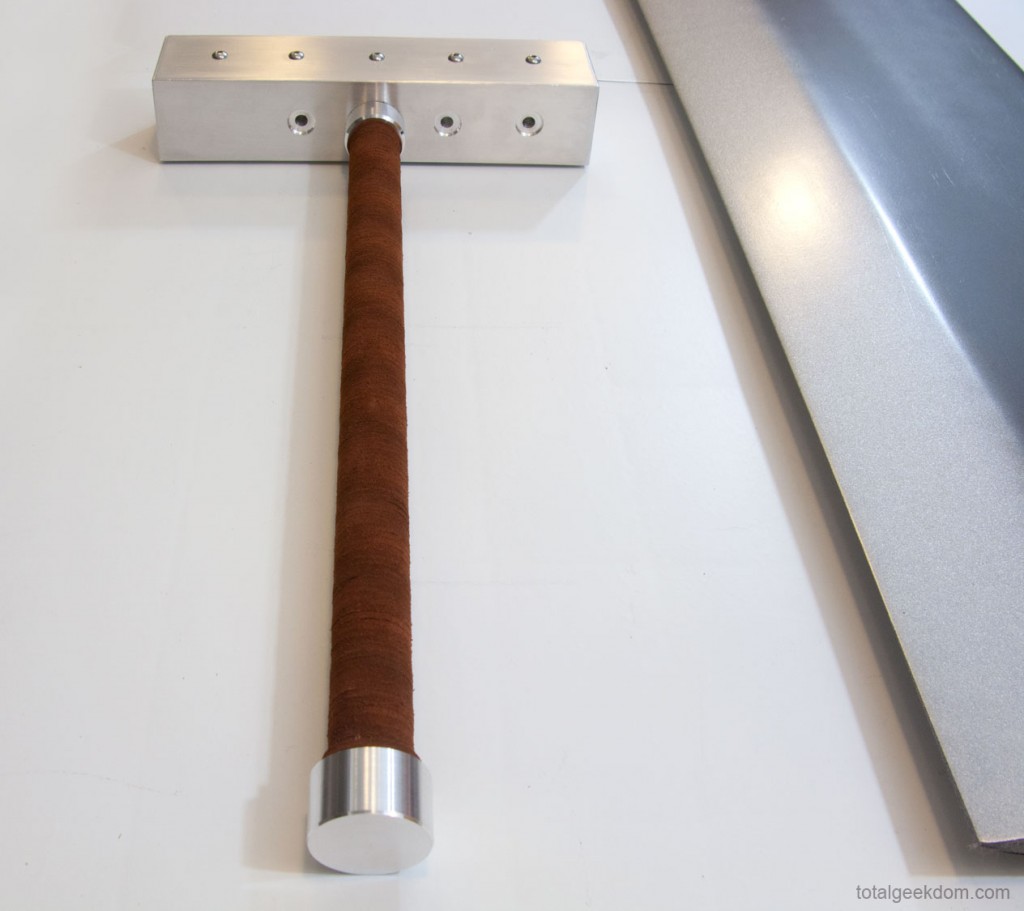
I sanded the block of aluminum with many steps of progressively finer sandpaper to achieve the metal finish that looked best with the sword. The handle I ended up using was a scrap piece of electrical conduit tubing from a hardware store. I cut it to the correct length to match the sword at full scale and then inserted it into the aluminum hilt. The handle inserts into the hilt with a small amount of press to keep it from moving. It’s secured with the middle decorative screws on both sides of the hilt, which are longer and are drilled and tapped into the conduit pipe.
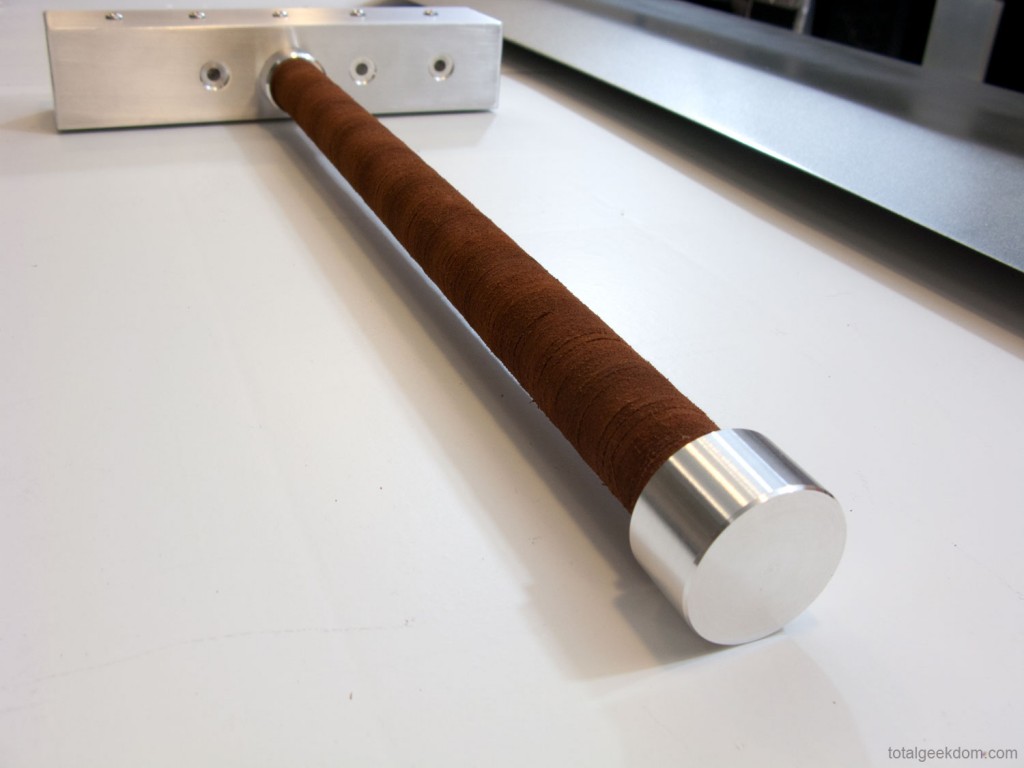
Using another scrap piece of aluminum bought from a metal shop I made two aluminum pieces for the handle, the one fit over the handle and butts up against the hilt while the other is capped and fit at the end of the handle with a press fit.
For the handle surface I ended up getting a cheap spool of leather lacing and wrapping the handle top to bottom with it to achieve the look of a leather-wrapped handle.
The final portion of the assembly involved attaching the hilt to the sword itself. I was concerned at first that the weight of the wood and length of the sword blade would be too much load for screws to hold the hilt to the blade. So instead of using regular screws I found a couple of unused screws I had purchased for a gutter I had hung on my house. These screws are larger in diameter than regular screws and most importantly they are very long, about 6 inches. Just one of these screws was able to hold the hilt to the blade and support the entire sword without issue. I used 3 of them to ensure that I would have plenty of clamping force and load carrying ability. This allows the sword to be swung around without fear of it breaking.
The finished product came out better than I could have hoped, given that it was just supposed to be a prototype I’m very happy with how the overall finished Buster Sword looked.
The sword materials list and cost are as follows-
2x10x8 lumber- $6
Epoxy Filler- $6
Spray Primer- $6
Spray Paint- $7
Sandpaper- $8
Electrical Conduit Tube- Free
Aluminum Scrap piece- $5
Aluminum Scrap round- $5
Screws- Had
Spool of suede- $5
Total = $48
I worked with my lovely assistant and costume maker extraordinaire @thetinnishflash and built up a pretty respectable looking Zack Fair costume from pieces gathered at the local Value World thrift store.
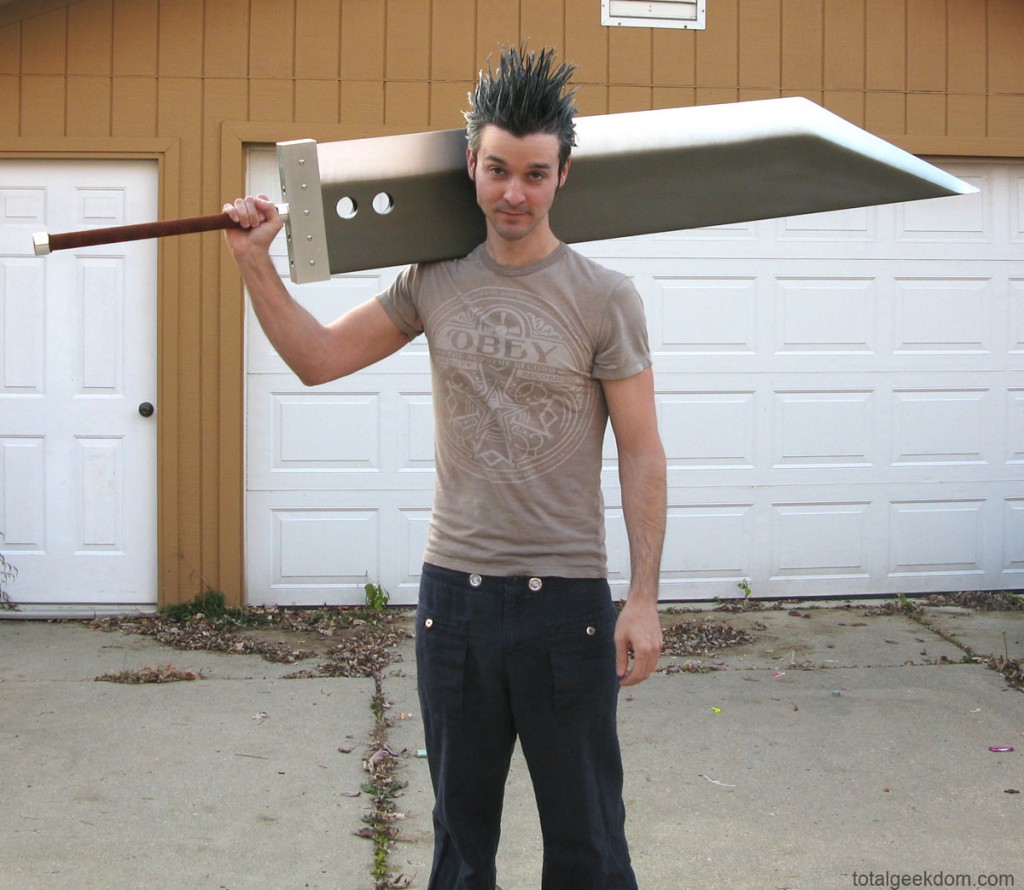
The costume itself came out great! I’m not a super picky costume person so I didn’t worry about some of the exact details; I just tried to get it pretty darn close. The same thing can be said about my hair, and the Buster Sword. I know Zack has had a couple of different hair looks in the series so I kind of just went with a mix of what seemed to look decent. For the Buster Sword itself there are a bunch of versions that I know of- Crisis Core, Advent Children, FF10, Kingdom Hearts, etc. I decided to just go with a more original and toned down look. I was going to add the gold coloring and handle embellishments but when I got to the end I really liked how the sword looked as it was, so I ended up leaving it. While it’s not a spot on replica I think the look is close enough that most will easily be able to tell what it is.
The sword was a huge hit and everybody really liked it, I had a couple of people offer to buy it and many people took pictures with it. Not sure if I’m going to sell it to someone who more frequently cosplays Zack or Cloud or just keep it and hang it on my wall.
For correct scale reference to a person and for the sheer awesome geekout factor I had @thetinnishflash do some magical Photoshop work and take one of the photos of me in my Halloween costume with the sword and Photoshop me into a Final Fantasy background. Its silly looking, dorky, geeky and everything else and I love it.
Also here is a picture of me making a really goofy face with my hair still done up like Zack fair but out of costume holding the sword. It gives another example of the scale of the sword; it’s a little over 6 feet in length.
If you're interested in making your own Buster Sword and would like more information, then click the button below, and head over to the Total Geekdom Facebook page. There you can Like and follow Total Geekdom and request more detailed information to build your own Full Size Buster SwordBuster Sword Dimensions & Instructions
